How to Create a New Branch
Step 1: Access the Branch Menu
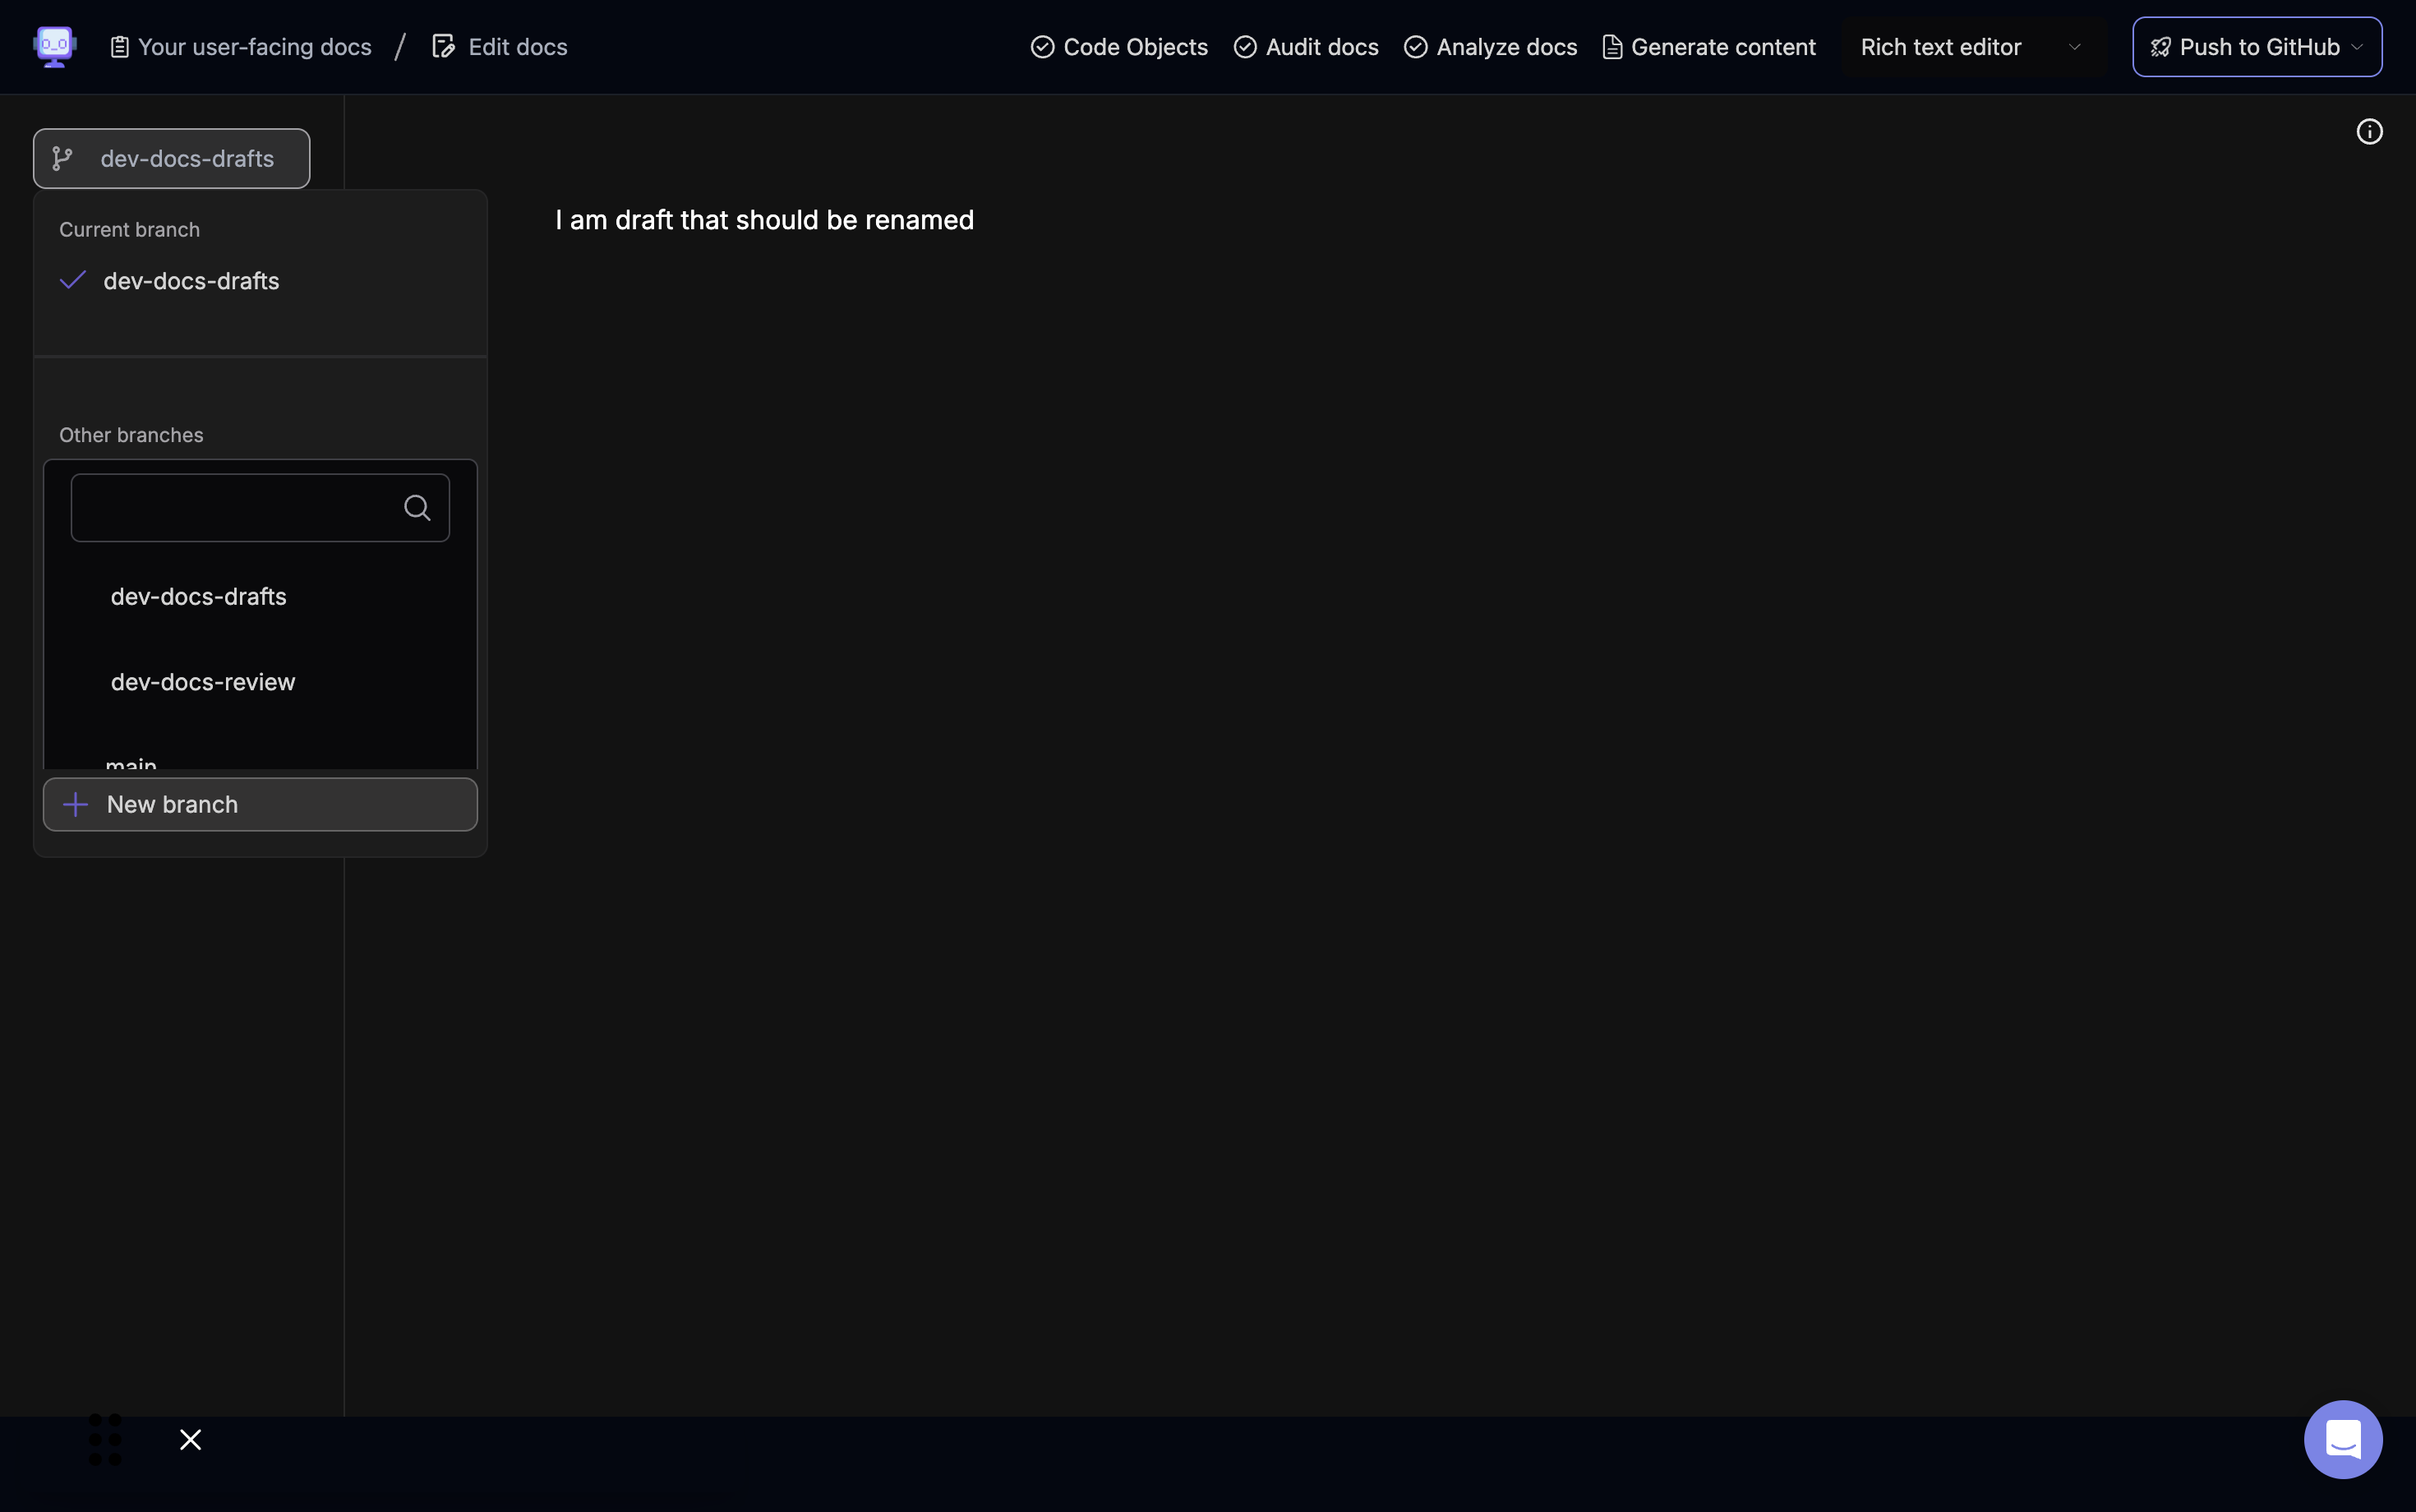 Navigate to the branch menu in the left sidebar of your document editor. You'll see your current branch listed at the top.
Step 2: Click "New Branch"
Scroll to the bottom of the branch list and click on the "+ New branch" button.
Step 3: Enter Branch Name
 A "Create a new branch" dialog will appear. In the "Branch name" field, type in your desired name for the new branch.
Step 4: Select Base Branch and Confirm Creation
 Choose the base branch from which you want to create your new branch. This is typically the main or master branch. After entering the branch name and selecting the base, click the "Add Branch" button to create your new branch.
Step 5: Start Working on the New Branch
 You'll be automatically switched to your newly created branch. The branch name will be visible at the top of the left sidebar, and you can begin working on your new branch.
Step 6: Verify Branch Creation
After creating your new branch, it's a good practice to verify that you're on the correct branch before making any changes. You can do this by checking the branch name displayed in the top left corner of your editor.